A wobbly toilet can be annoying. It can also be very uncomfortable and could even cause an embarrassing injury depending on how you wipe your bum. Besides the hold-down toilet flange bolts being loose, a broken flange may also be responsible.
The problem with a broken floor flange is that it may also cause leaks around the base. If left to persist, this could lead to serious problems including rotten subfloors and damaged commodes.
While most homeowners often turn to professional plumbing contractors to fix a rocking toilet, this is, in fact, an inexpensive and quick fix that anyone can undertake.
These simple steps will teach you how to fix a wobbly toilet and how to install a new toilet flange.
What You Need For A Toilet Flange Repair
- A new flange (you might want to buy this later)
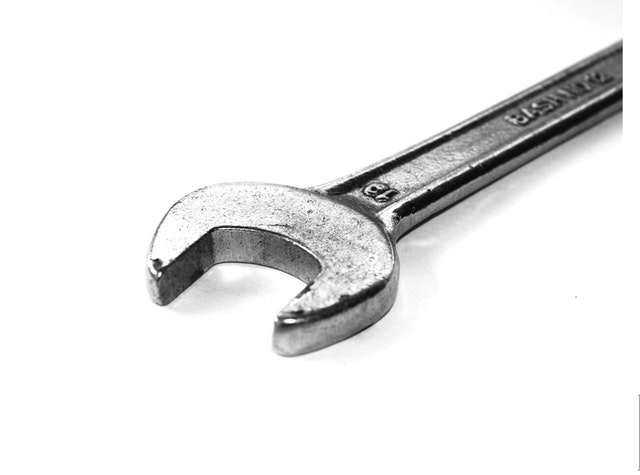
- Adjustable wrench
- Putty knife
- Hacksaw
- Screwdriver
- Gloves
- A mask
- Wax ring
- Old newspapers/Towels
How To Replace A Toilet Flange In 13 Steps:
-
Switch Off The Water Supply
The essence here is to prevent water from spilling all over your floors. To turn the water off, locate a knob usually behind the toilet and turn it clockwise.
-
Flush The Toilet
This step is critical since you don’t want water staining your floors. Again, if you have one of the latest water-efficient commodes like the Kohler K-3987-0 Welworth that uses 1.28 GPF, you’ll need to flush regularly to ensure that all the water in the cistern has been drained.
Emptying the tank also makes it easy to lift one-piece fixtures such as the Toto MS604114CEFG-01 Ultramax II.
-
Prepare A Bed
Using old towels or newspapers, prepare a bed where you’ll put your commode as you work on the flange. The need for this bed is to ensure that you don’t stain your bathroom floor.
Remember that the toilet’s drain pipe can be quite messy.
Important: Spare a few towels for step 5.
-
Remove The Toilet
You’ll need to put on your mask and gloves here.
If you have a one piece toilet, you’ll need to disconnect the water supply that connects from the wall to the toilet tank. You can easily grasp it in your hands and twist it off. You can also use the adjustable wrench if it’s too tight.
For a 2 piece toilet with a tank that mounts on the wall, you only need to disconnect the flush pipe that directs water from the toilet cistern to the bowl. The easiest way here is to unscrew a threaded piece that connects the pipe to the tank.
Next, use the adjustable wrench to unfasten the 2 hold down nuts that mount the toilet to the floor and flange. For old commodes, the nuts and washers may have welded to the bolt. That’s where the hacksaw comes in handy. Cut them off.
Once all the nuts are out, gently rock the fixture and lift it up. You might want a hand here especially if you are dealing with a one piece toilet. Place the toilet on the bed of newspapers. Be gentle to prevent cracking it. Ideally, position it lying sideways. This will make Step 10 simple for you.
-
Remove The Old Flange
Use a putty knife to remove the old wax and to expose the screws that hold the flange. Using a screwdriver, remove the screws and set them aside. You’ll need to be fast here since all the gases from the sewer will be hitting you right in the face.
-
Take The Measurements
Use a tape measure to figure out the diameter of the outflow pipe. Next, use a lot of water to clean the old flange and disinfect it.
-
Seal The Sewer Line
After getting off the old flange, use some old towels to close the drain hole. This will prevent more gases and odors from filling your bathroom.
-
Get A New Flange
With the outflow pipe’s diameter in mind and the old flange in hand, rush to the nearest home improvement store or plumbing store and get a new flange of the same shape and size. Be sure you get the right one, because no one wants a toilet flange too high.
Again, if the flange does not come with a seal, you’ll need to buy it separately.
-
Install The New Flange
Remove the rags from the sewer drainage pipe and dispose of it safely. Next, fit the new flange in its place ensuring that it lies flat on the floor with no gaps below. Use your screwdriver and the new screws to hold down the flange into place. You should also position the 2 closet bolts where the commode will fit in place.
-
Placing The Wax Ring
With your commode lying on one side, inspect its round drainage mouth underneath it for any debris. Ensure that it’s clean and then position the wax ring carefully.
Be careful not to misshape it. -
Position The Toilet
With the wax seal intact, carefully lift the toilet and lower it slowly over the flange ensuring that its 2 holes are aligned with the bolts on the flange.
Once the bolts are in place, press the commode lightly to create a good seal around the flange. Next, press it tightly and position the nuts and washers on the bolts using your hands at first.
Don’t over tighten yet.
-
Level The Toilet
You need to make sure that the fixture does not rock. If it does, use stainless steel washers or pennies to shim it. Once all the rocking has been eliminated, use a wrench to tighten the nuts.
-
Reconnect The Water Supply Hose
Once everything is done, reconnect the water supply and fill the tank. Flush the toilet around 3 times intermittently while checking around the base for any leaks.
Video: How Do You Replace A Toilet Flange?
Conclusion
As you may have realized, installing a new toilet flange is a quick task that you don’t have to involve the plumber. If you found it simple, then installing a new toilet altogether shouldn’t take you the whole day. Find our comprehensive guideline on this process in our best toilet buying guide.
